
Working with Clay
Types of Clay
There are many types of clays on the market from Air Dry Clay, to potter’s clay which includes earthenware, stoneware, porcelain and ball clay. Air dry clay is often used when a kiln is not available as it does not need firing.
1. Clay
There are many types of potter’s clay. Depending on the type of clay project that you are going to do. For hand building and sculptural forms, look for a school earthenware or stoneware clay. Another good choice is raku hand building clay or Stoneware Paper Clay.
Earthenware: Earthenware clay is a popular choice for many and is often used for sculptural work. The lower firing temperature means that you can use a range of bright bold colours making it popular clay for using underglaze or coloured slips on.
Stoneware: Stoneware clays are the densest and most vitrified once fired, making them a popular choice for production potters, as it is strong and water resistant and often used for restaurant quality ceramics. Stoneware glazes offer a variety of effects and can produce interesting, often unpredictable results. Stoneware can hold water even when it’s unglazed.
Grogged clay: Clay with grit/grog in have crushed or ground particles which give the clay more body, different grogged clays have different amounts of grog and different particle sizes of grog, from fine to course. Grogged clay can reduce shrinkage and thermal expansion and offer a textured surface appearance. This clay type is the most popular for hand building as it is generally less prone to cracking it is great at holding shape and doesn’t ‘slump’.
In Australia, Oxlades have a range of clays suitable for hand building; School Earthenware/Stoneware Clay, Northcote White Raku Hand building Clay. Art Basics have a variety of clays suitable for hand building; Raku clay with Grog, Earthenware paper clay.
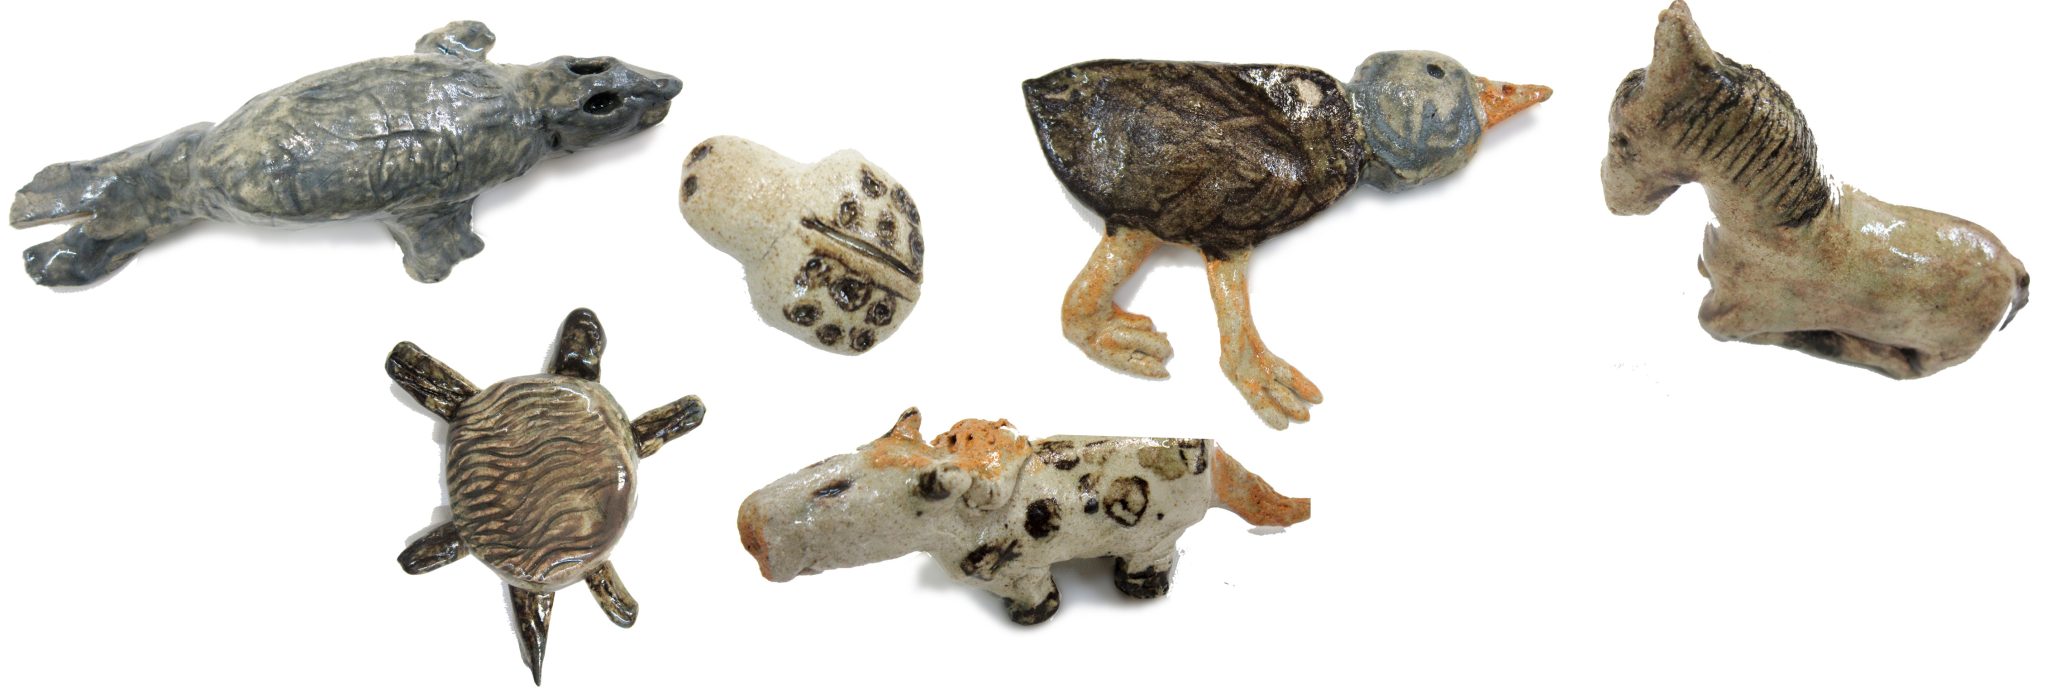
Glazed and fired clay animals projects
Firing Clay
Greenware clay is the term for clay that has not been fired or raw clay and it is fragile and breaks easily. It is also soluble, so if it gets wet, the solid greenware will start to dissolve. At this stage, clay projects can be worked on.
Potters clay goes through a firing process in a kiln. The first firing is called a bisque firing. Bisque firing hardens the clay so that the moisture is removed, and the clay will no longer dissolve. The clay is hardest after this firing. Colour can also be added in the bisque firing stage by painting coats of underglaze. One coat of underglaze will give an uneven watercolour effect and three coats will give a solid colour. The colours will be dull when fired.
During the bisque fire clay is transformed from raw greenware clay to ceramic material. The ceramic ware that is produced by a bisque fire is hard and porous. That means that if it gets wet it will absorb water, but it does not dissolve. Different clays have different firing temperatures. Please check the information on the clay package for precise details and follow the firing instructions on your kiln.
The second firing is often done with a clear glaze over the underglazes. Three coats are applied, or the items can be dipped in gloss glaze before firing. When fired for a second time it will make the underglaze colours shiny, more intense and brighter. Glazes are used to seal the clay, creating a hard non-porous finish. Coloured glazes may also be used at this stage, usually if they were not applied at the bisque firing stage.
Air dry clay coral art projects
Adding Colour to Clay
Underglaze: Is a specialist product to use with clay that is to be fired. It is applied before pottery is glazed. It is used to decorate pottery rather than seal it. Liquid underglazes are easiest to use and can be painted on. They can create a watercolour wash effect and rich dense colours can be made by applying 3 coats.
Glazes: are applied to pottery after it has been bisque fired. Clear glaze is often used to seal, protect and enhance decoration on pottery. Glazes can also have colour, texture, and add character to decorate the pottery.
How to apply glaze:
Dip pottery into a bucket of glaze. Ensure that the glaze has been mixed thoroughly as particles separate and sit at the base of the bucket. Use a large brush or stick to stir generously. Use glazing tongs to grab the pottery and dip it in. Touch up any marks with a small paintbrush dipped in glaze.
Brush 3 coats of glaze on, this can be thicker than dipping.
It is very important that there is no glaze left on bottom of the clay piece. When it is being fired, the glaze melts so if it is on the base of the piece, it will melt and stick to the kiln shelf.
There are two techniques to prevent this from happening. You can use a wax resist. There are room temperature wax resists that can be painted on and do not require melting the wax. One generous coat is needed. Alternatively, you can melt wax in a shallow frying pan and dip the bottom 1cm of the piece into it. Beware this is a hazard as it is hot and needs to be in a well-ventilated space.
If any glaze or underglaze accidently goes onto the wax resist then it must be wiped off with a damp sponge.
Glaze Firing: Let the pots dry overnight before firing. Stoneware glaze firings are usually around 1200°C-1300°C. At these temperatures the clay fuses and becomes strong and impervious to water. The glaze fuses with the clay, making the ware very strong.
2. Air Dry Clay
Air dry clay isn’t fired and is perfect to use if you don’t have access to a kiln. Different sorts of medium can be used to seal and protect the clay surface. Sealants can make the clay water-resistant but not entirely waterproof. Air dry clay can be painted with acrylic or tempera paints. You can also use markers, POSCA pens to add intricate details. Avoid using watercolour paints, as they may reactivate the clay, making it sticky.
Air-Dry clay generally takes 24 hours to dry to the touch; 72 hours to dry completely. Drying times can be change depending on environmental conditions and the size of the piece.
When dry, it can be sprayed with varnish or painted with PVA glue to seal the clay. The clay will not be food safe using air dry clay.
Das is the best air-dry clay available. We have had kids make puppet heads out of Das clay and drop them on the floor and not crack or break. However, it is expensive. In Australia, we use Sun Clay available from Oxlades or another good option is Air Dry Clay from Mont Marte.
Sealants
You can seal clay air dry clay projects with a range of different products. Here is a list of some to choose from.
PVA Glue can be applied as an economical option to seal air dry clay. It will add a protective layer but little water resistance. Mix equal parts PVA glue and water. It may yellow over time.
Mod Podge can be applied to clay once it’s dried and hardened. It is a glue and sealer in one and adds protection to the clay but isn’t water resistant. Mod Podge is available in matte, gloss and glitter finishes.
Acrylic Sealer is a good option to provide a water-resistant, durable seal on air dry clay . They protect the air dry clay and prevent it from yellowing.
Varnish provides a shiny finish, it seals the clay and is water resistant. We use spray varnish as it can get into all the nooks and crannies of any clay piece without making puddles. It is also available in gloss and matte versions. Spraying needs to be done by a teacher or adult assistant in a well ventilated area, preferably outside with some old cardboard or paper under the clay projects to protect the ground underneath where you are spraying.
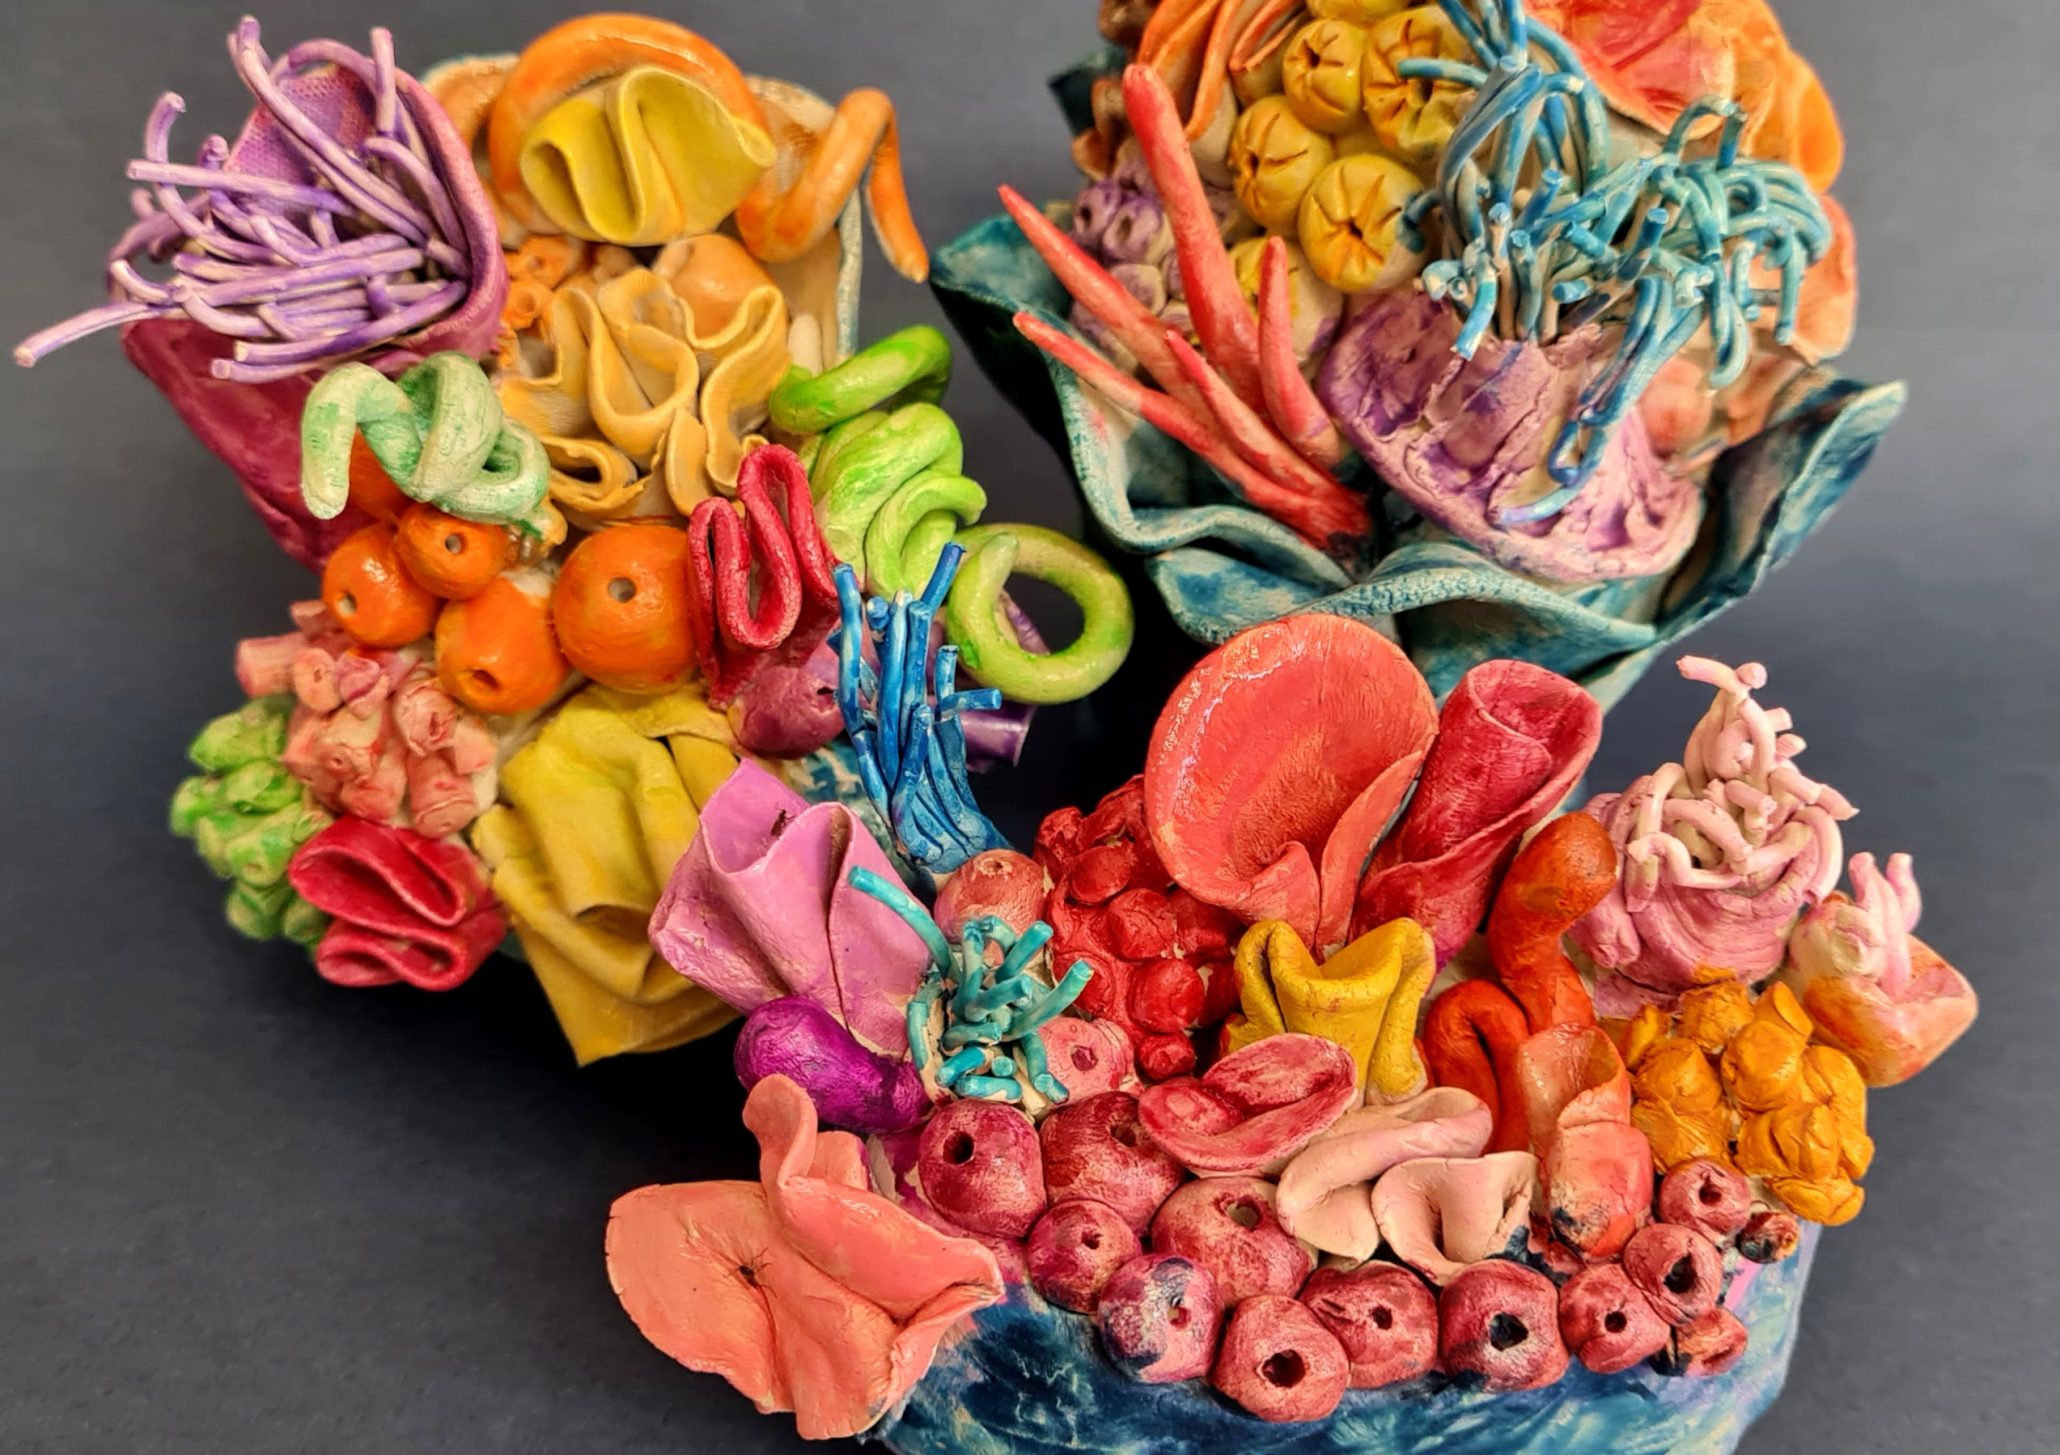
Air dry clay coral artworks painted with acrylic paint before finishing with spray varnish.
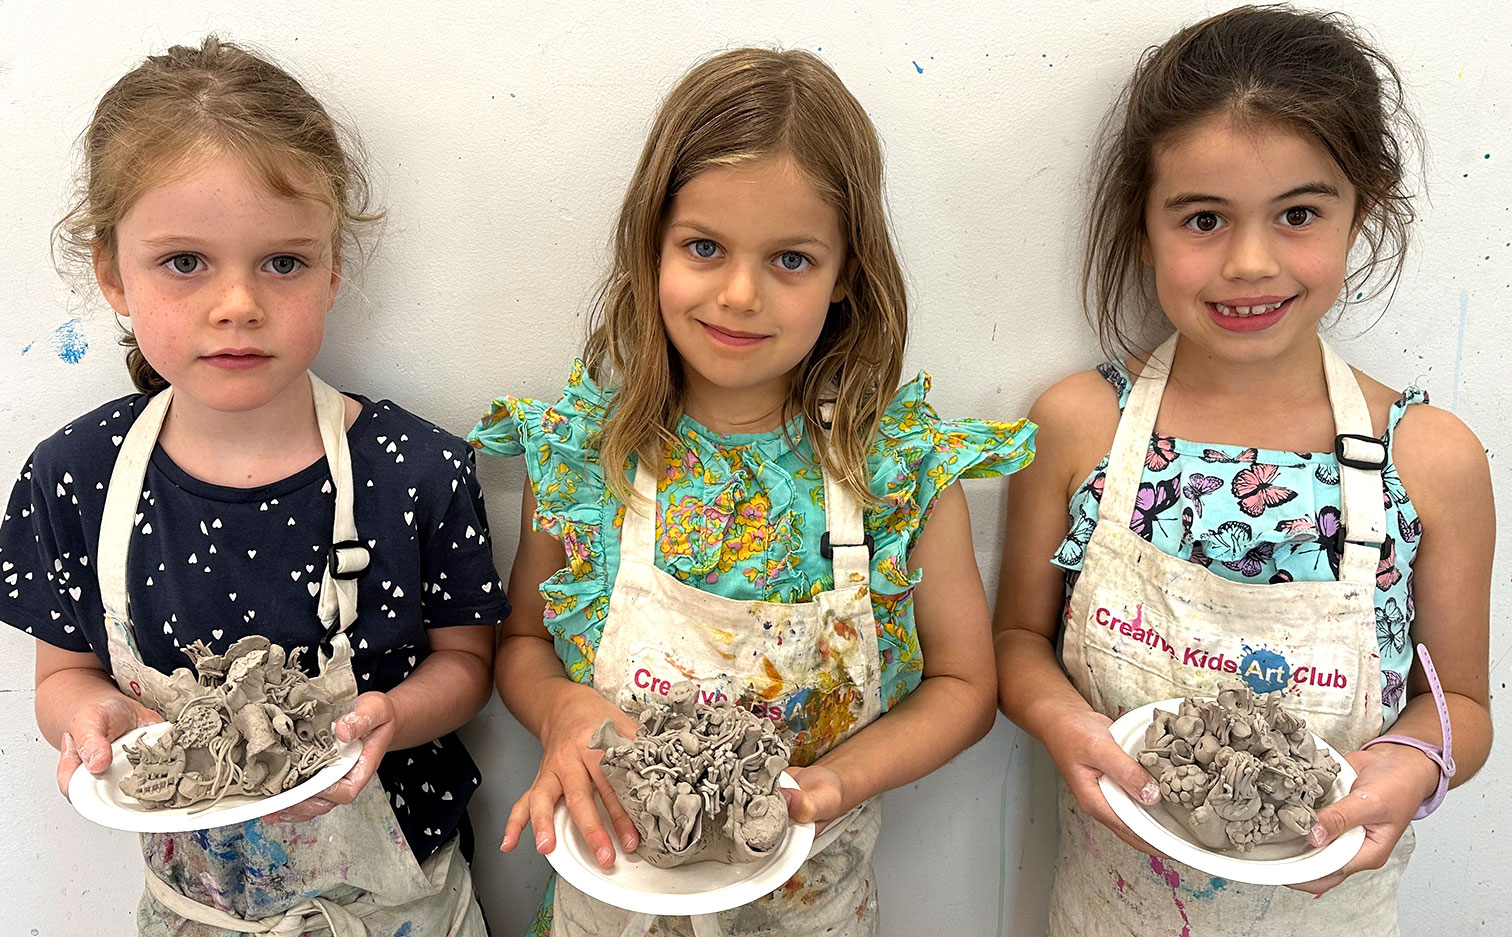
Working with Clay in the Classroom
Drying Clay
After a clay project has been completed, it needs to dry out completely. This can take 2 days to a week depending on the climate. If you have a storage room for drying out clay this is a great option. Drying clay out too quickly or unevenly can lead to cracks.
Loosely covering the clay with a large sheet of plastic will help slow down the drying process. Your clay project needs to be bone dry before it goes into the kiln. A good test is to hold the clay against your skin – if it still feels cold then it is probably not dry. It will feel like the room temperature if dry.
How to prevent clay projects drying out
Clay will dry out quickly if left exposed to air. To prevent clay drying out between classes, it needs to be wrapped in plastic. Resealable food storage bags are a great option, but any plastic wrap or bag will suffice. Ensure that no air can get in.
Clay will also star drying out whilst working with it. Encourage students to keep any clay they are not working on covered with a damp cloth. (Chux wipes are a good option). Small pieces of clay will dry out more quickly so encourage students to clump scrap clay into one piece and keep it covered. If the student needs a short break, they should cover their clay in a damp cloth.
Spray bottles of water can be used to keep clay moist while working. Students can spray small amounts of water onto their clay if it is drying out. They can also spray the damp cloth that is covering their clay to keep it moist. Be careful not to overspray.
What to do with left over clay pieces
Often there are small pieces of clay left over or larger pieces of clay that have dried out. These can be reclaimed. Place clay pieces into a resealable plastic bag or lidded bucket and add some water. If clay is very dry the water should cover the clay. If clay is slightly dry then spray the clay with water so it is moist. Leave clay to sit overnight or for a few days if the clay was very dry. Check the clay to see if it feels malleable then remove it from the bucket or plastic bag. Wedge the clay, work it to remove any air bubbles and store in an airtight bag.
Clay Boards and Fabrics
If you roll a clay slab onto a hard shiny surface like plastic or polished wood, the slab will stick to the worktop. This will make it impossible for you to lift the slab up. The best surface to roll onto is a section of fabric. Fabric is absorbent and you will be able to lift the slab away from the fabric quite easily.
We use canvas fabric offcuts from a blind manufacturer that were then cut up into mats. These can be purchased cheaply, or they may even give them to you. You could also use section of an old tablecloth, a section of canvas stretched over a piece of hardwood to prevent wrinkling. Fabric backed vinyl tablecloth is another good option.
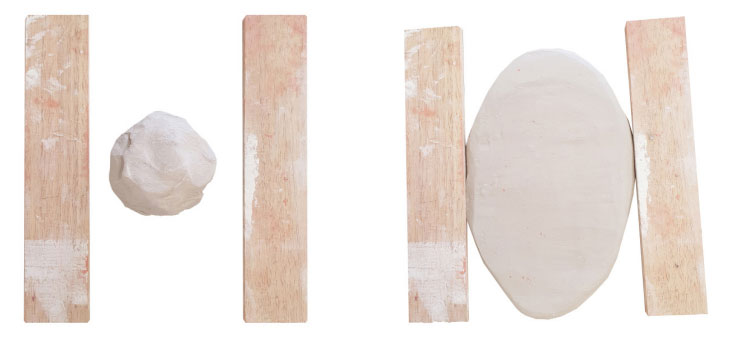
Rolling a Slab
Use wooden guides to get even thickness when rolling a slab. Put the wooden guides on either side of the clay when rolling. You can buy these from a pottery supplier and there are a range of different thicknesses available. You can also buy wooden strips from a hardware shop and cut them up, look for pine mouldings.
Latest Articles
Popular kids art lessons for teachers and ideas for the artroom
Using Picture Books to Teach Line in the Art Room ...

Why is it important for kids to work in 3D ...
Art Classroom Management: Practical Strategies to Get Your Class on ...