How are the lesson plans created?
When we write Creative Kids Art Lesson plans, we begin with an idea for the art project. We think about which materials would be best suited to the project and begin experimenting. We often have a few attempts at a project to see what works, till we were happy with it. The most attempts for a sample is five! We then create a series of photographs and write the instructions for each step of the process and add curriculum details. The lesson plan is then tried out in our art classes, and we make adjustments to the length of time required or add in an easier way to do something or an extension idea we used with early finishers etc.
The aim is that kids can create their own individual artwork but they need to develop confidence in art making to do this. It’s a fine balance between too much freedom and not being sure where to start or being too prescriptive with the outcomes.
How can I make the art lessons easier?
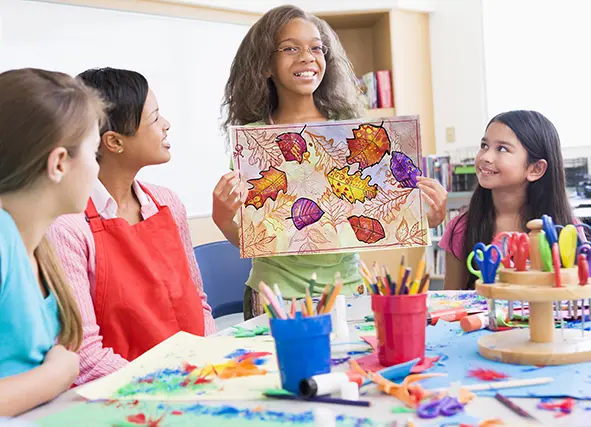
There are a number of ways to adapt Creative Kids Art Lesson plans to make them easier and we have included some of them in the lesson plans already. See the Autumn Leaves artwork above, it can be made easier for less experienced students by cutting out the leaf shapes.
We add stencils to cut out to make drawing the basic shape easier for younger or less experienced students. Kids can trace around these to get a good start for the project and draw big enough to fill the page! You can cut out some steps to simplify the projects so they are less detailed or cut out shapes to use, so they are ready for your students to glue on. We use all these techniques when using the lesson plans with our younger four-year-olds.
We always demonstrate the process in simple steps to the kids and then have them do the step themselves. The younger or less experienced the students, the fewer steps we demonstrate at one time. You can also have students tell you back the step to see if they have understood what to do before they begin work.
Assume nothing! Students may not know how to hold a paint brush, or a pencil so show them at the start of the class. Also demonstrate each new material or technique you will be using in the day’s art project. At the end of the class, it is useful to show your class how you want the brushes washed, how to stack the washed palettes and any other clean-up activities required at the end of the class.
How to make the art lessons more complex or detailed
An easy way to make an art lesson more complex or to take more time for early finishers is to add more detail. Show your advanced students some additional techniques that can be added to the project such as shading, layering, or adding perspective.
Give them some additional materials such as paint pens or markers to add pattern or more detail to the artwork.
Have students review their work from a distance and close up. They can work in pairs and discuss their artwork choices with each other. Are they any areas that need some extra work? Are there areas that are uninteresting or have too much happening? Ask the student how they could work on these areas to add to their overall composition. Some areas may need to be painted over to simplify the composition, or colours changed to make it more harmonious. Details can be added to areas needing to stand out more.
We have a Creative Kids Art Lessons, ‘How to Improve Your Artwork’ poster which can be printed up and displayed in the art room. It can give students ideas on what to do next with their art.
Have students find out more about the artist that inspired the project or do some delving into the art history of that era.
Have students combine materials and art techniques to make the work more complex. Such as adding a 3D or sculptural element to a project.
How to make the kids artworks all look different
When we run an art class we don’t show the kids the finished sample because we don’t want them to copy it. If you have the finished work on display or printed up the kids think this is the ‘right way’ or the only way to do this project.
To encourage your class to use their own creativity, just demonstrate as much as is needed and then give the kids some options. As they develop confidence in their own art making they could change the colour or the scale or do a close-up version or show more of the animal. We often have more confident artists say, can I do it this way? And wherever possible we say yes!
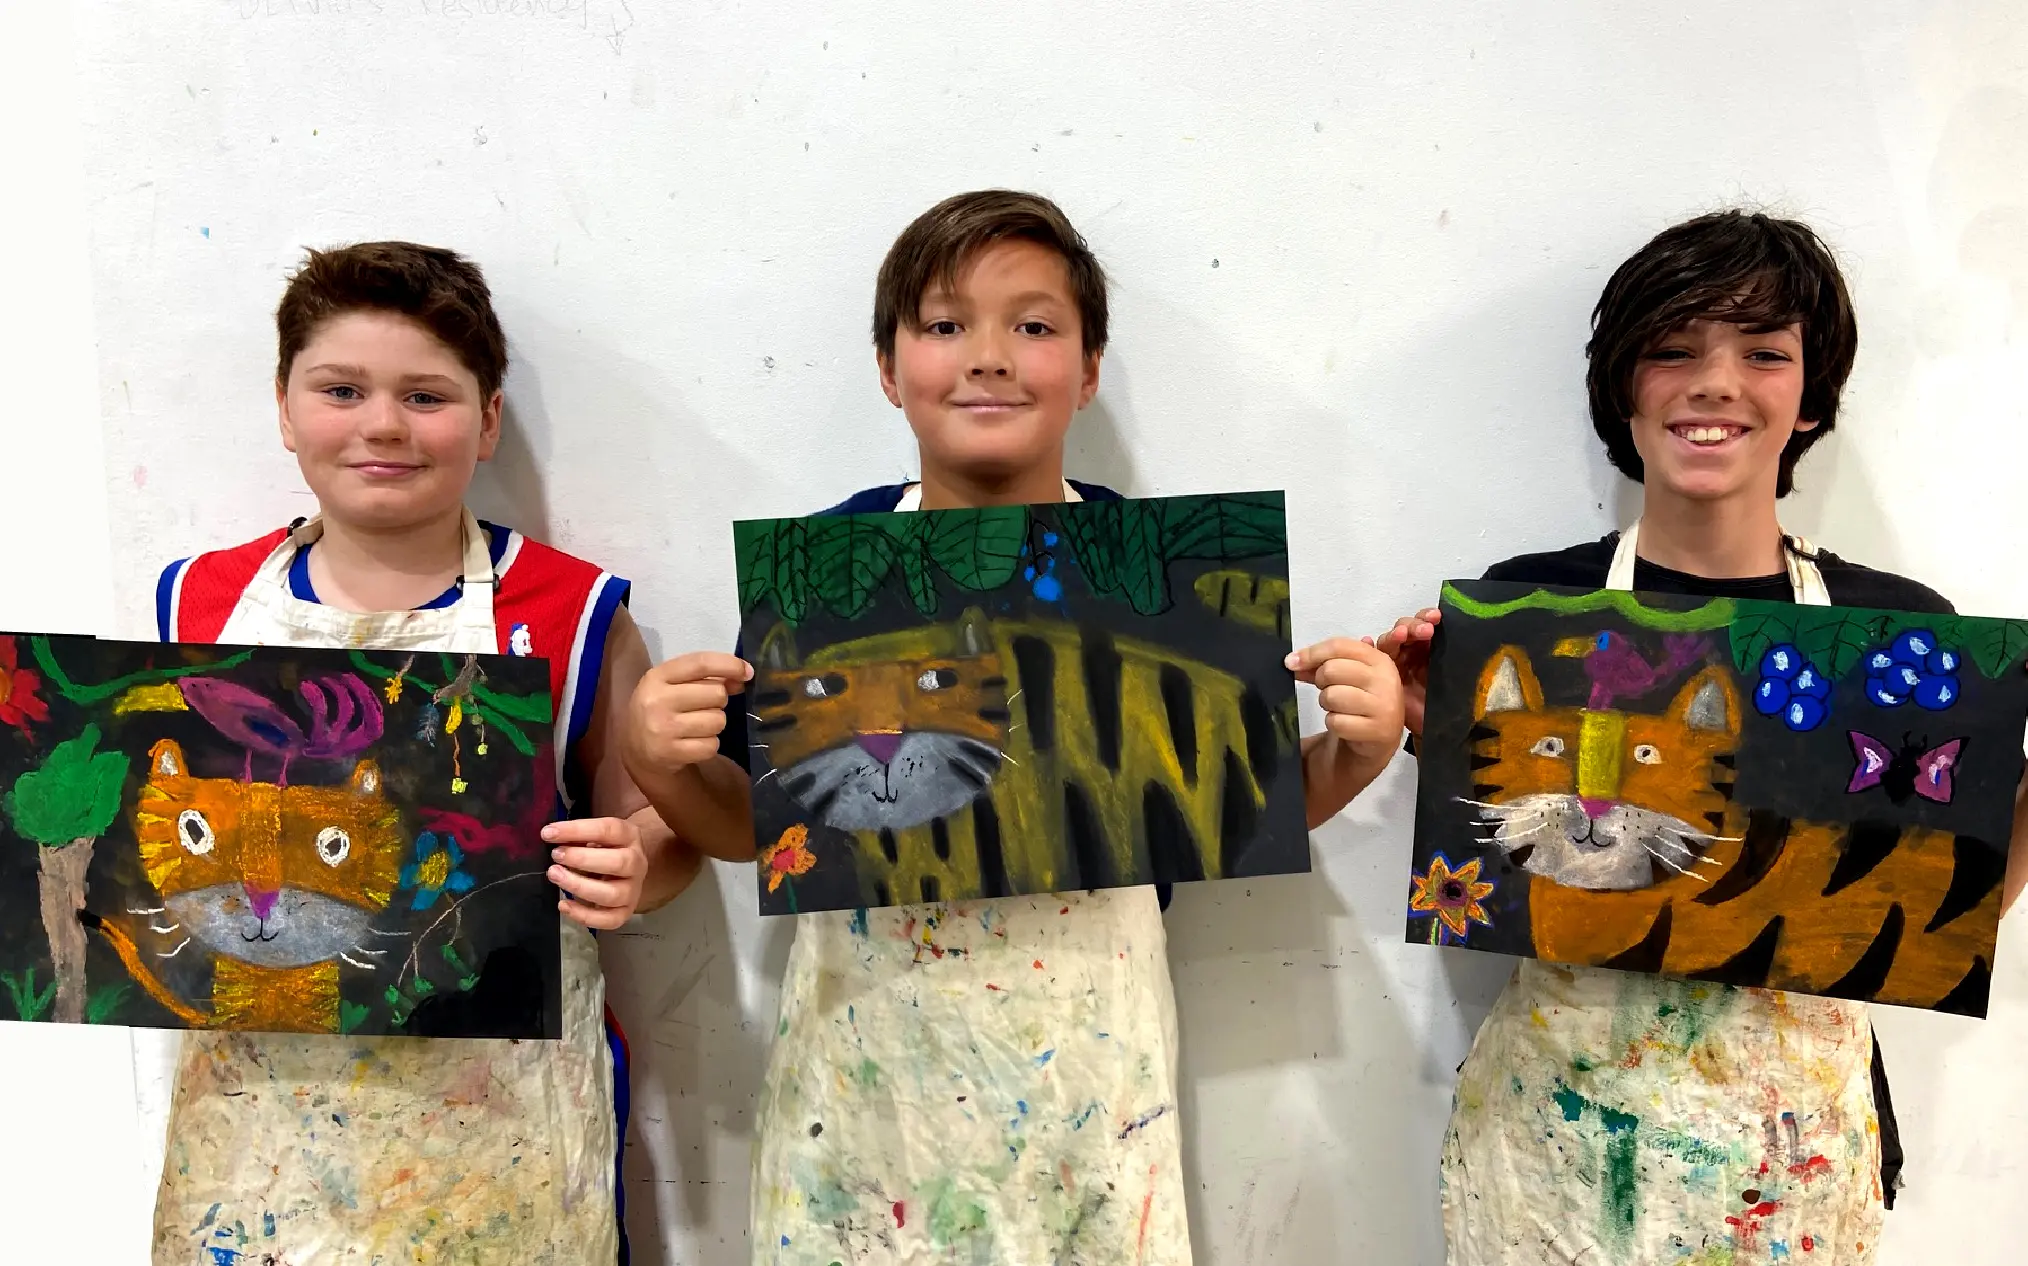
We begin each project with a discussion, for example, if we are doing a tiger drawing we talk about the features of a tiger, the stripes, the wide face and other physical features. This discussion gets the kids thinking and helps with creating their own ideas. ‘I saw a white tiger at the zoo, can I draw my tiger with white and black stripes? YES. I want to see the whole tiger in my drawing not just the face, YES.
You can see how the artworks can all end up different. It is also good to let less confident students have a safety net and follow the instructions so they can create an artwork they feel confident with. In time they too will become more adventurous.
Latest Articles
Popular kids art lessons for teachers and ideas for the artroom

An engaging art room does more than look colourful. It ...

Using Picture Books to Teach Line in the Art Room ...

Why is it important for kids to work in 3D ...