
Setting up a primary or elementary art classroom can be a daunting task, especially for the first time!
Plan to create a space that is functional and inspiring for your young artists. Here are some steps to help you create an engaging and organised art classroom:
Plan the Layout
The first consideration is room layout. I like to measure up the space and create a room layout on paper. I use coloured sticky notes, roughly cut to scale to ‘move the furniture around’ on paper before I begin. An important consideration is the lighting and heating. Where are the lights and is there any natural light source in the room as this will influence your placement of desks and storage. Do you have a lot of heat from the windows or does your room have under floor heating? (great for drying art!).
Mark off where the immoveable items are, such as the door and clean up area. If there is a dedicated storeroom mark that in as well. Then think about where you will store art supplies and artworks. Lots of storage is a must! Is there enough room in the storeroom or will you create a space inside the classroom? Decide where your teacher desk will go. Using sticky labels allows you to move the desks and shelving around and play with the configuration without the heavy work of shifting the actual furniture!
Consider the age group you’ll be teaching and think about the flow of students in the room, from desks to clean up and storage area. Consider whether you need a mat area. It may be useful for younger grades to read cross curriculum linked art based stories.
Storage Solutions
I like to store art supplies together, so all the drawing supplies are in one place, same for the painting, clay, sculpture craft and reference images. Creating areas for storing different art supplies can be an easy to maintain system. Invest in ample storage for art supplies. Clear, labelled bins or shelves will help you and your students find materials easily.
Label all art supplies and storage areas so students can access them easily. Have a designated space for each type of art supply, making it easy for students to locate and put back materials. A drying rack for artwork is essential, two if you can! They are essential to leave works to dry before packing away. Also, consider a separate storage area for portfolios and finished projects.
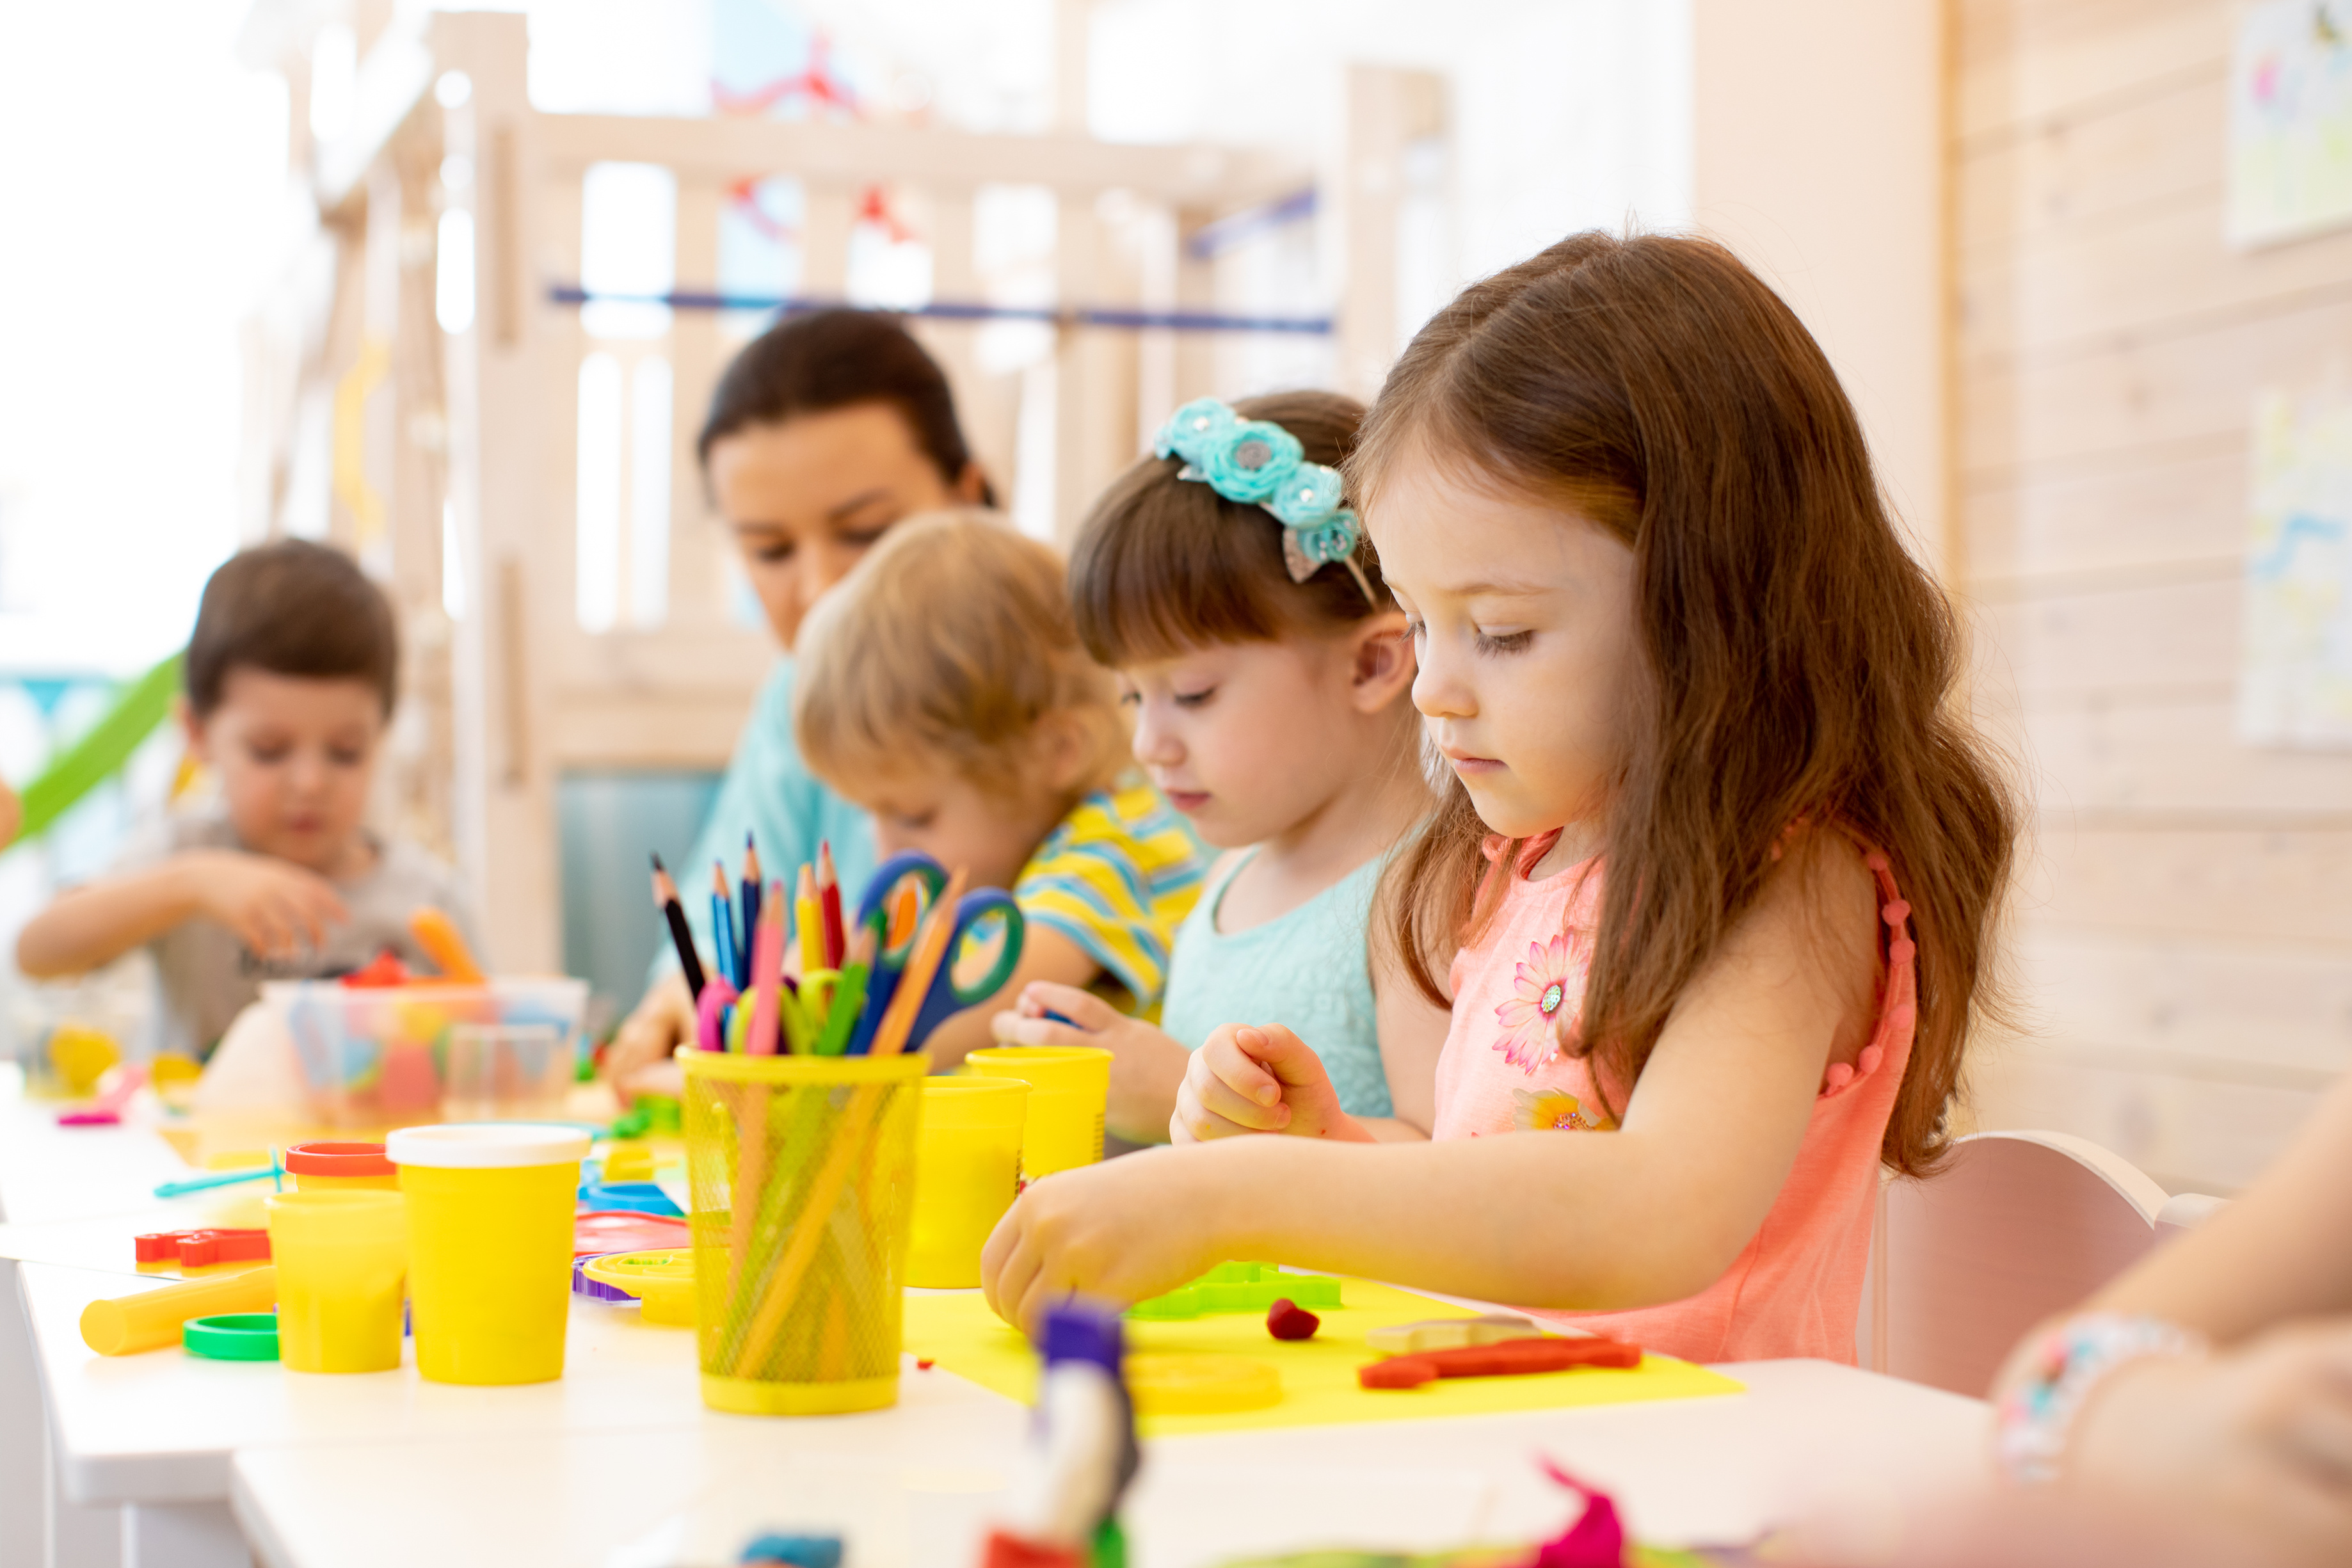
Art Supplies
Stock up on a variety of art supplies, such as tempera and watercolour paints, brushes, coloured pencils, permanent markers, acrylic paint, paper, clay, scissors, and glue. Plan your curriculum around existing supplies and your budget. See our previous posts for more details about painting and drawing supplies and here’s our complete list of recommended art materials.
Art Display Area
Use notice boards to create an art display area where students’ work can be showcased. This encourages them to take pride in their creations. Use some art posters to brighten your space and inform your students such as the Elements and Principles of Art posters available free with a one month membership.
Seating
Provide comfortable seating that’s age-appropriate. Small tables and chairs or floor seating with cushions can work well for younger students, older students need higher tables and bigger chairs. Stools work as an option for all grade levels. Think about colour coding your art tables to define your groups and organise supplies.
That’s the basics covered! If you are setting up the art room for the first time, be practical, time is limited so don’t stress out about having an instagram ready classroom. Your kids are there to create art not look at the decor.
Inspiration Corner
If you have the space, create an inspiration corner with art books, early finisher activities, and examples of famous artworks. These can spark creativity and serve as a reference for students.
Safety Measures
Keep any hazardous materials, and sharp tools in a safe place. These would include lino cutting tools, hairspray, fixative, the kiln or any other sharp objects or toxic materials.
Clean-Up Area
Have a dedicated space for cleaning up and for students to wash their hands, palettes and brushes. Hopefully you have a sink in your art space, keep it clear and accessible to students for a quicker clean up.
Classroom Rules
In the first few lessons, establish clear rules and expectations for behaviour in the artroom. Communicate these to your students from the beginning. You may wish to display a poster in the room that outlines these rules clearly for students and that they can easily see. This will help to encourage a positive and respectful atmosphere. You may also have a list of tasks that need to be done and allocate groups for each on rotation such as giving out supplies, collecting artwork etc. See our blog on classroom management in the artroom for some more on this topic.
Personalize the Space
Once you have the basics sorted, when you have established the set up for your room, you may have time to add some personal touches, such as colourful decorations, student artwork, and inspirational quotes, to create a welcoming and stimulating environment.
Teacher’s Area
Set up a dedicated area for yourself with a desk and storage for your materials and lesson plans. Work out a filing system for your paperwork, lesson plans, schedules and books.
And finally, an art classroom should be a place where students can explore their creativity, so make it inviting, relax and enjy sharing creativity with your students. Be prepared to adapt your classroom setup based on the specific needs of your students and the projects you have planned. Have fun creating in the artroom this school year!
Latest Articles
Popular kids art lessons for teachers and ideas for the artroom
An engaging art room does more than look colourful. It ...

Using Picture Books to Teach Line in the Art Room ...

Why is it important for kids to work in 3D ...